Compost: Johnson-Su Bioreactors (2023 edition)
Common mistakes and how to avoid them + photos to inspire you to build one this winter!
It’s that magical time of year where leaves and/or wood chips are abundantly available 🍂 and we can put them to good use by building a johnson-su bioreactor - a compost system specifically designed to yield a soil amendment that is rich in fungi.
Don’t let the term “bioreactor” intimidate you, the term is referring to the fact that this compost pile is basically incubating beneficial fungi which you can then introduce to the soil (and most of our soils, from farms to lawns, could greatly benefit from more fungi!). Despite the complex sounding name, it’s pretty easy to build and maintain.
To learn more about the origin of this composting method and ‘the why’ behind it, see this article I wrote last year!
Side Note: I have this daydream of all newly built homes coming with a couple pre-built bioreactors and a user’s manual so the new homeowner has a system in place to heal the land from the excavation that took place - can you imagine?!
There are a lot of things I like about this design and a few common ways things can go wrong (that are easily avoidable). Today, I’ll share some key points with you and lots of photos for inspiration.
PS: Keep an eye out for an Office Hours thread this month to submit any questions you may have about making one of these! I’d also love to see photos of any bioreactors readers are tending to 😍
Why I like this design:
scale up or down
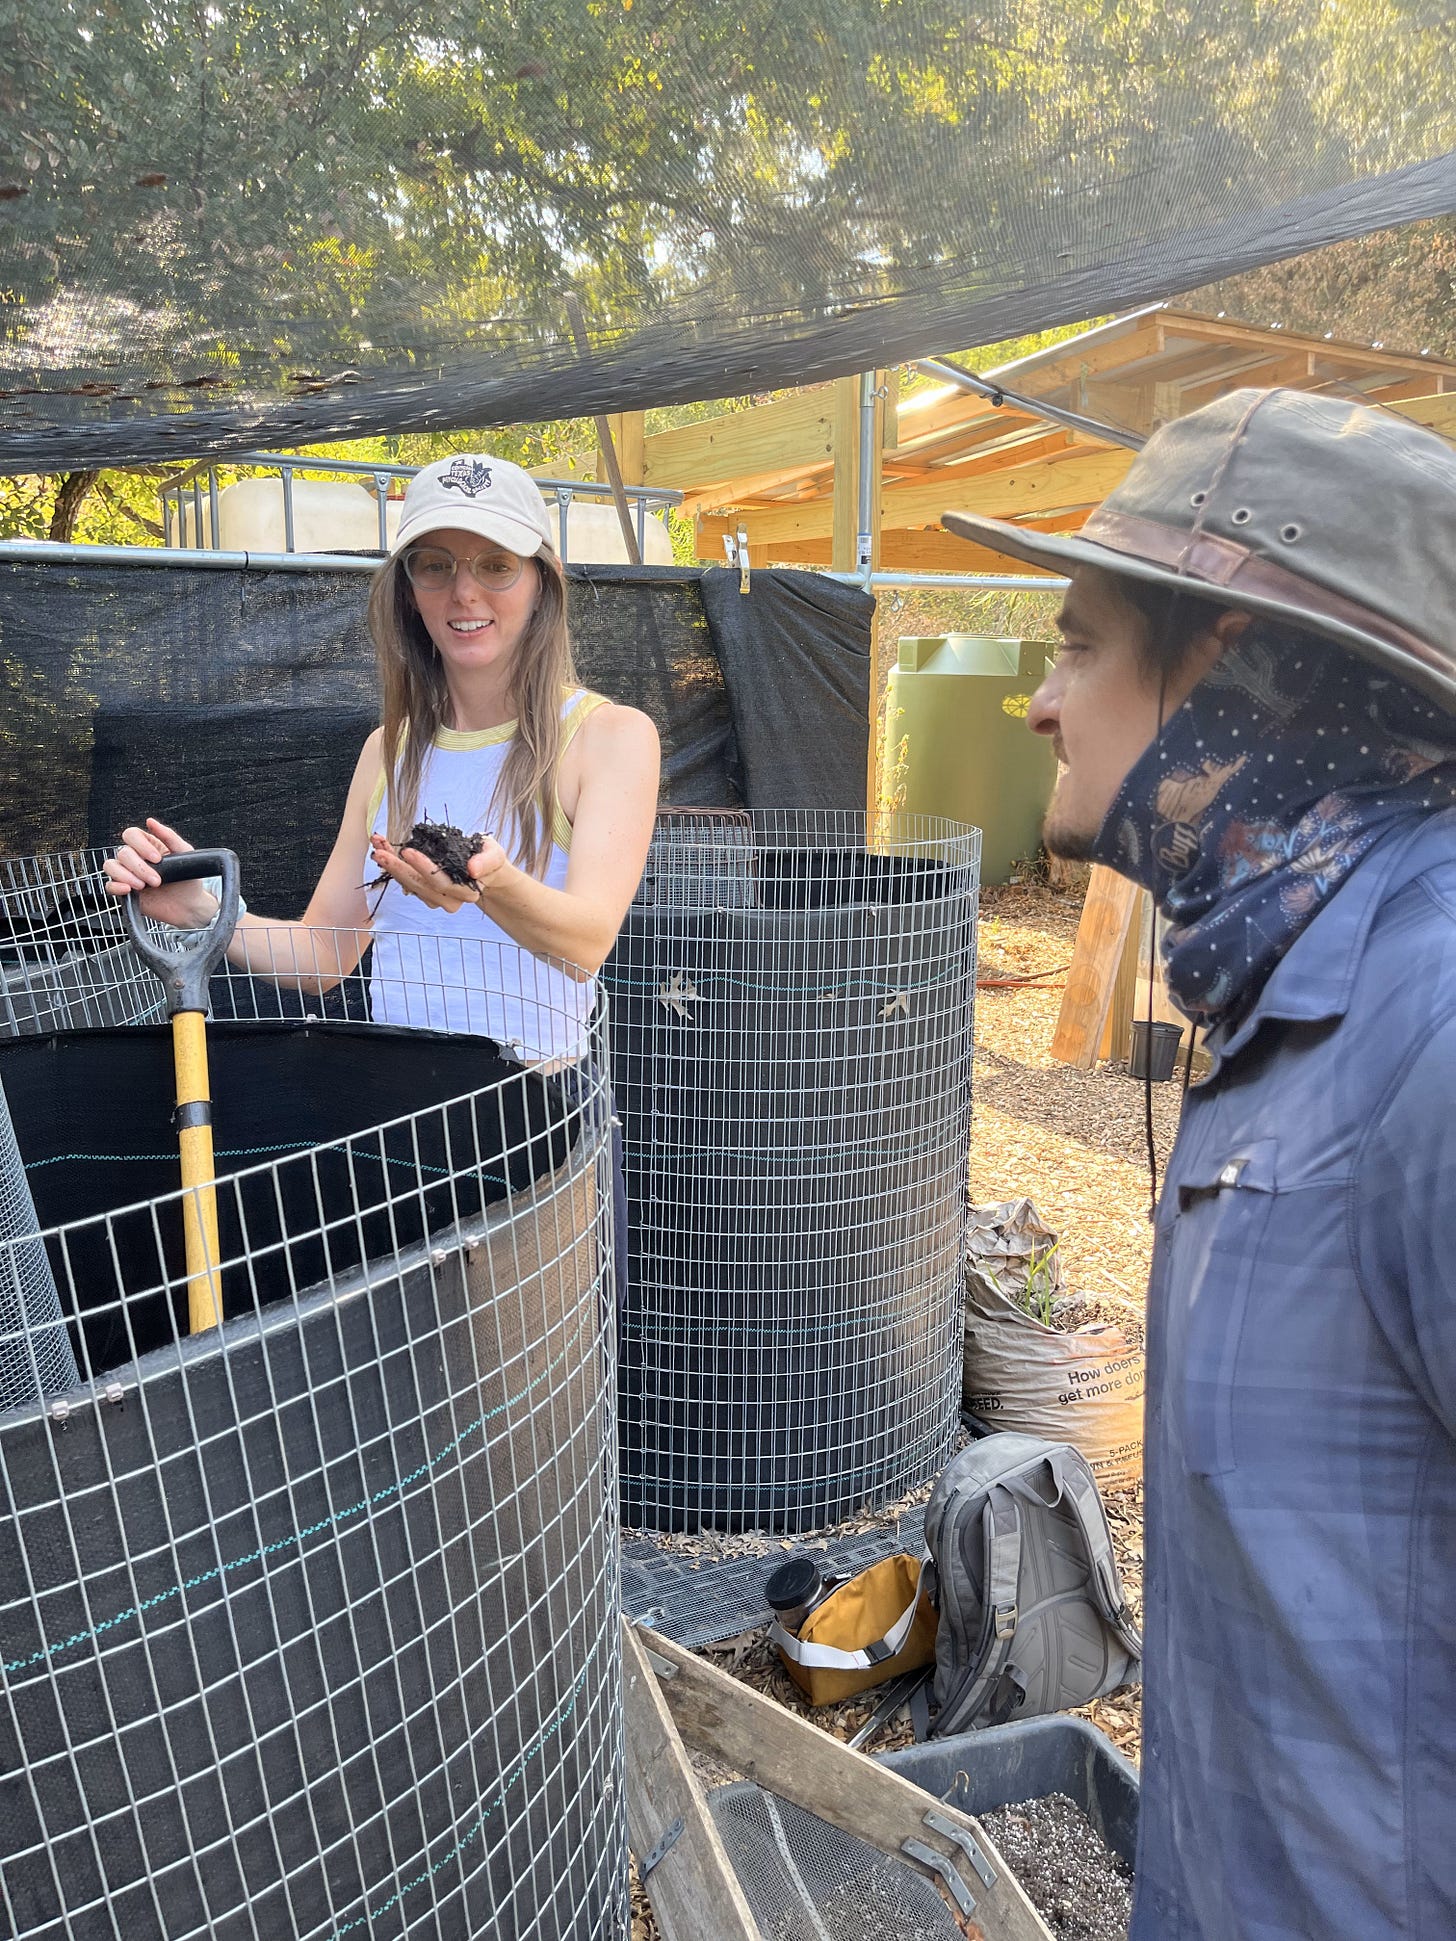
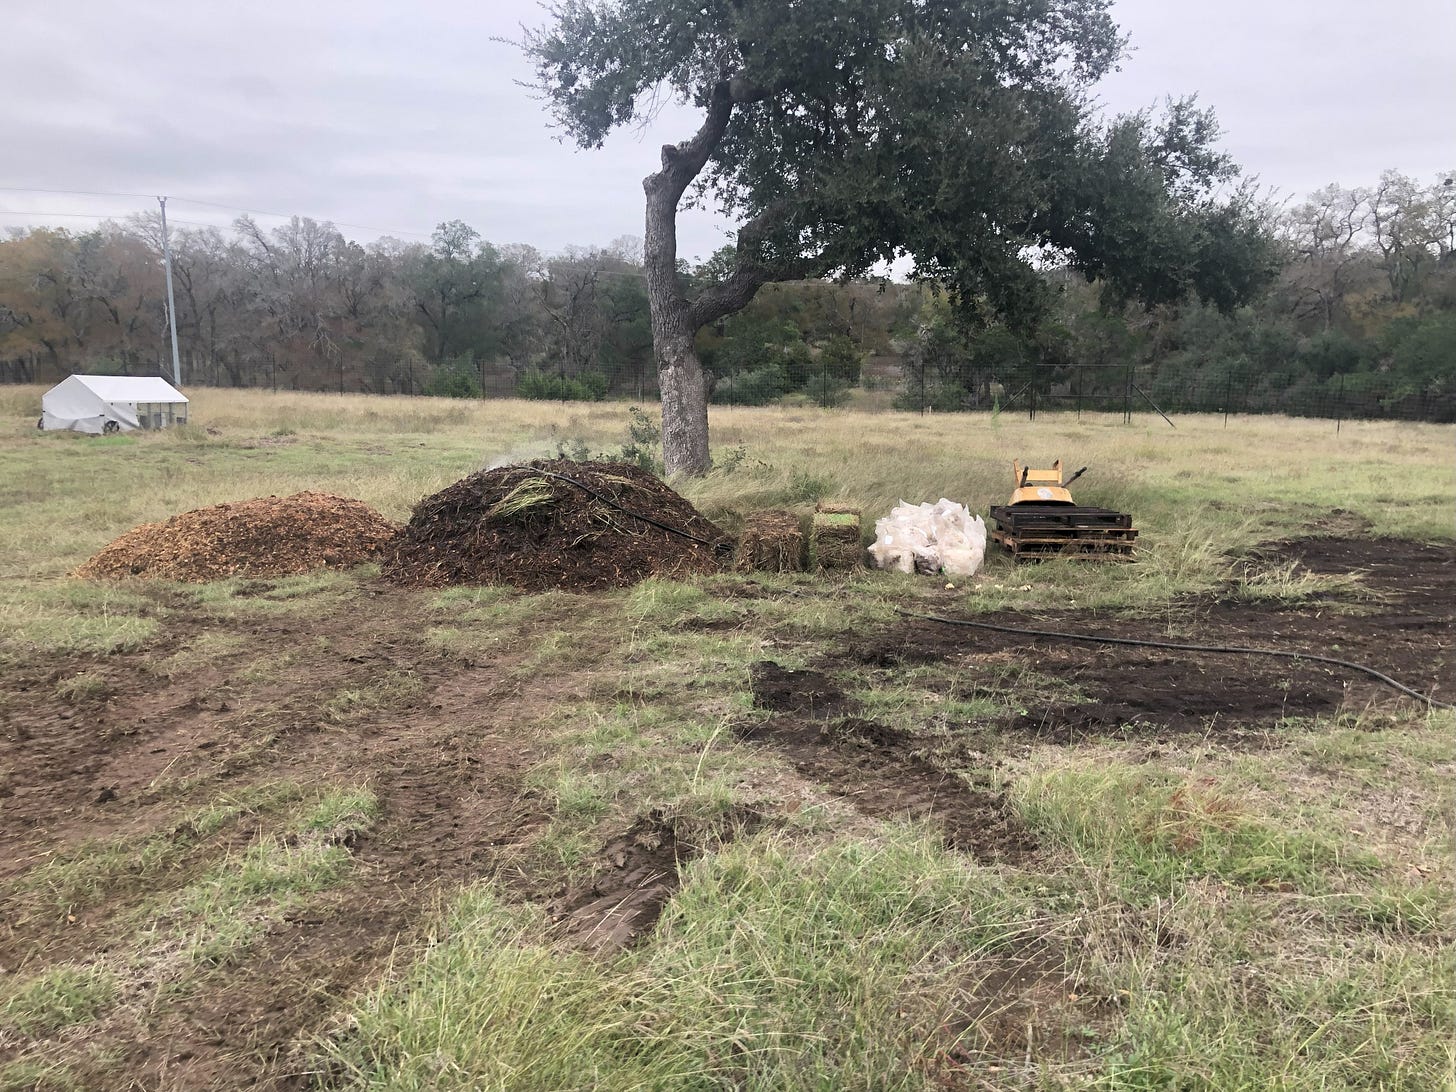
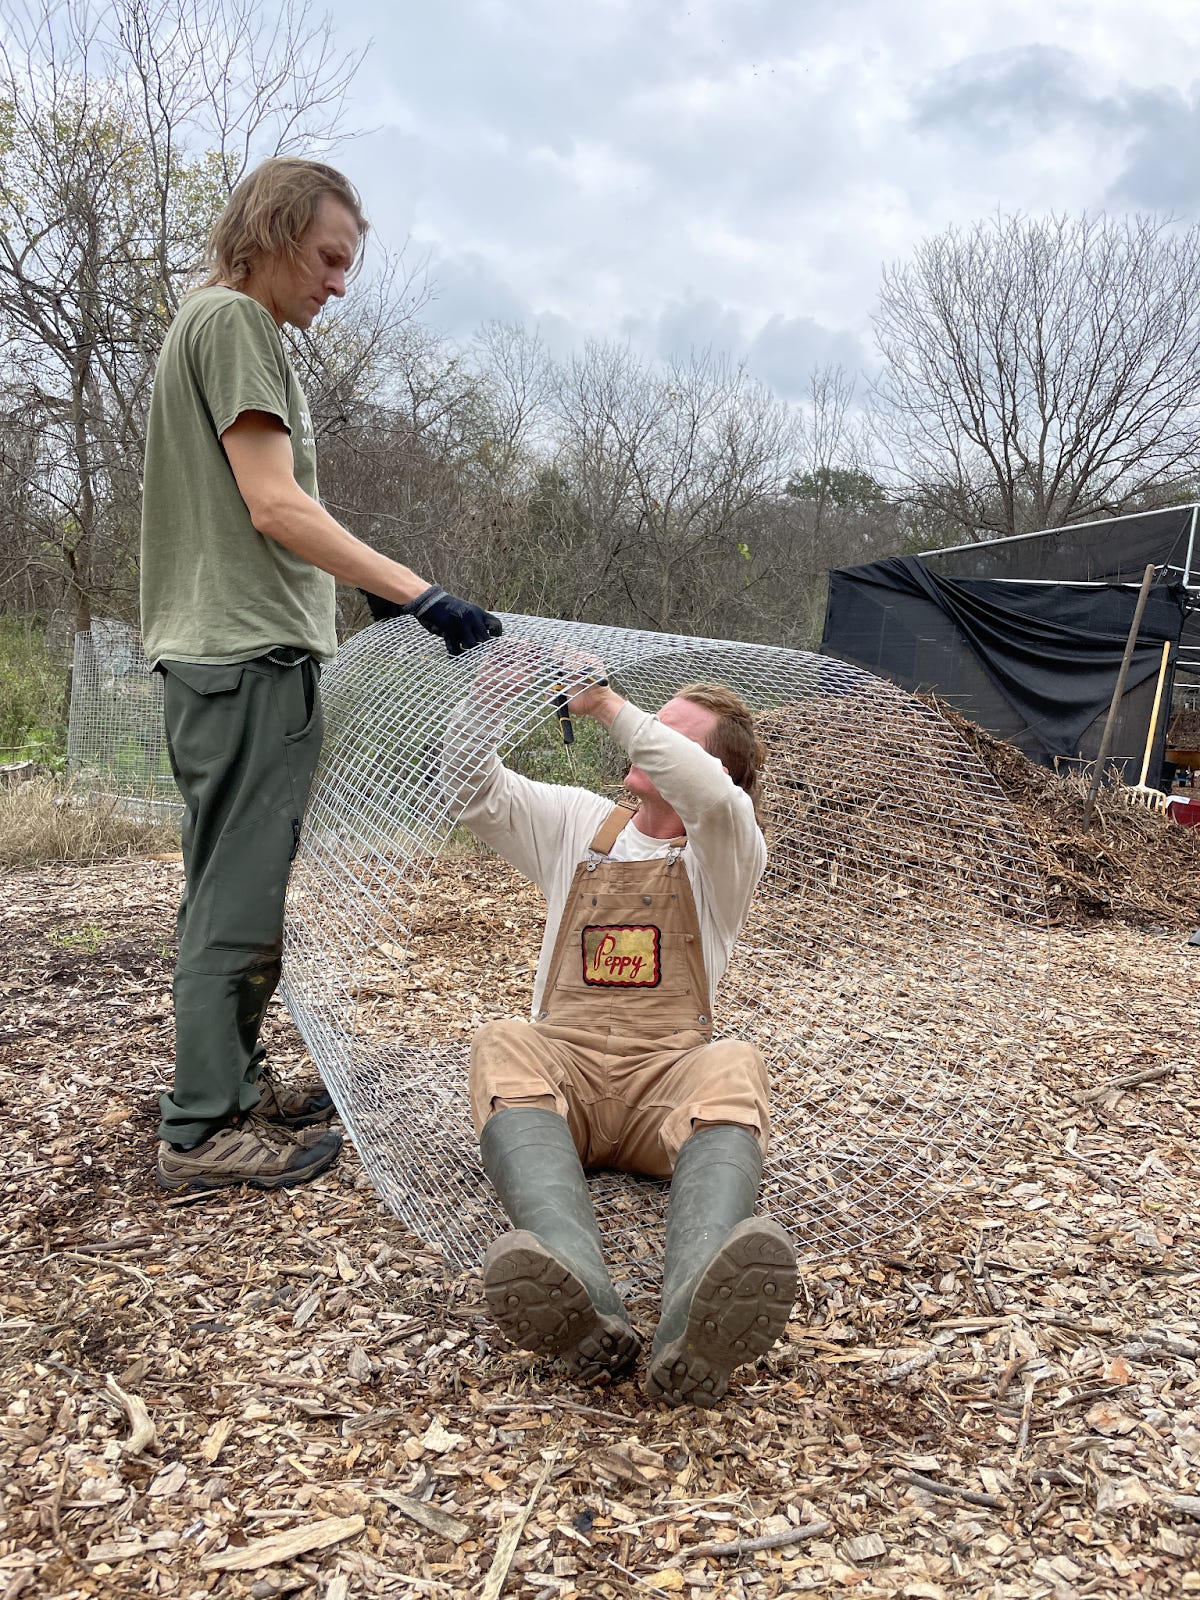
The compost cylinder can be built to your specific preferences. I personally like keeping up with 1 or 2 cylinders that are about 4’ tall x 3’ wide, but if you have more machinery you might opt for a more industrial scale like several 6’ tall x 4’ wide cylinders or maybe less of a cylinder and more of a large contained area (see pics below)
static method = easy maintenance
You can build a bioreactor in a day and then all you have to do is keep it well watered, no turning or temperature management.
yields high quality amendment (if design principles are honored)
I’ve looked at lots of samples of different johnson-su amendments under the microscope and most of them look excellent with all the microbes we look for in a thriving soil food web. There have been a few exceptions, which we’ll get to…
Please note, the Johnson-Su Bioreactor is not a great solution for handling food waste, so be sure to have another method ongoing to handle food scraps 🍌

Common things that go wrong & how to avoid them:
1. Nitrogen - adding too much or adding it in layers
Explanation: The bioreactor works best when it’s filled with mostly high carbon feedstocks. Think brown leaves, woodchips, shredded paper, straw. This can be a little confusing for folks especially considering the origin story of the Johnson-Su methods (it originally was used to compost dairy manure which is very high nitrogen!) However, over time the methods have evolved to include less nitrogen inputs and more carbon to really drive fungal growth (fungi generally feed on carbon-based things, while bacteria consume nitrogen-based things).
If you have a nitrogen source that you want to compost, like fresh grass clippings or manure, I’d just recommend keeping that input to a minimum in a bioreactor - like 10% or less of the total volume* and mix it with your carbon inputs, do not layer it in or you can get layers of “bad” biology.
Nitrogen drives heat and though heat can be useful in thermophilic or ‘hot composting’ it can be harmful in a static system. For one, because we’re not turning the pile we can’t regulate heat cycles which can become dangerous (combustion). In general, I’ve found that the microbiome of piles with more nitrogen inputs can take months longer to mature, presumably because it has to recover from the extreme temperatures.
TLDR:
Too much nitrogen overheats the pile and delays maturation of the microbiome.
Layering in nitrogen inputs, lasagna-style, tends to create layers of “bad” biology - this can be fixed by simply mixing these inputs with the carbon feedstocks.
To make the most of this compost system, stick to mostly carbon inputs!
2. Too dry
The most unfortunate way to lose out on the benefits of the johnson-su method is to not keep up with consistent watering. Be honest with yourself, if you’re not going to hand water the pile several times a week, go to the effort of setting up irrigation when you build the bioreactor.
Even with irrigation, be sure to check on the compost regularly to make sure the irrigation is working and the target moisture is being maintained: ~70% - you should be able to squeeze a drop or 2 out of a handful, if it’s streaming water then reduce watering.
3. Skimping on airflow
At first glance a lot of people think it’s silly to build a compost pile on a pallet, wouldn’t you want it exposed to the soil for worms and the like to come and go? In theory yes, but the airflow from the base really is essential to keep a static pile properly aerated, and believe it or not I’ve seen worms traverse the obstacle of the pallet and populate piles abundantly! So, don’t talk yourself into skipping any element meant to support airflow.
Design Principles
The way I see it, there are 4 design principles that make Johnson-Su compost particularly excellent: ample air, moisture, and fungal foods combined with minimal physical disturbance (i.e. static, no turning).
So as you scale up or down, or experiment with using different materials just aim to honor the principles of the design, particularly the guidelines below.
Air – all parts of the compost need to be within 10 inches of an outside air source
This can be a bit of a brain game, but as an example the modified design pictured below honors this principle by ensuring the distance between the outer cylinder and the inner cylinder does not exceed 20 inches meaning all the compost is within 10 inches of an outside air source (whether that’s coming from the open-air inner cylinder or from the air surrounding the outer cylinder). This is why we build the bioreactor on a pallet – to allow for airflow from the bottom to come up through the inner cylinder(s).
Moisture – the compost should be built & maintained at 70% moisture. Lining the bioreactor with landscape fabric can help retain moisture while still allowing for air exchange. Setting up irrigation can help make regular watering easier to keep up with.
Fungal Foods – the majority of the bioreactor should be filled with carbon rich feedstocks to primarily support the growth of beneficial fungi
Static – the bioreactor should be allowed to mature without any turning
What to expect:
Lastly, a lot of people are surprised how much the compost shrinks, just know if it’s shrinking it’s decomposing and that’s a good thing - if at the end of a year you only have 1/3rd - 1/4th of what you start with, that’s okay! It’s a dense material and meant to be applied as an extract so a little will go a long way.

Have you built a bioreactor before?
Resources to get you started
If you make a pledge this December, I will send you a copy of a detailed guide I made for making a modified Johnson-Su bioreactor (a little easier than the more industrial design). And if you’ve already made a pledge, just reply to this message or comment below to let me know you’d like me to send you a copy!
YouTube video of Dr. Johnson himself making a large bioreactor
*It really depends on the feedstock how much you can add to a system like this, so if you have a question about a specific input, submit it during the upcoming Office Hours
Ex) In my area we have access to spent mushroom blocks, these contain a mix of carbon and nitrogen, I would only use this feedstock up to 30% of the total volume (and mix it in).

With Love,
Andie


Hi Andie, thanks for writing this most helpful post! Any chance I can get a copy of your modified design?
From the Philippines here. We built not one or two, but 10 bioreactors last October through December.